Raspberry Pi Hemispheric Photography Analysis Software Install Guide
Introduction
This guide details steps to install the required software for analysis of Raspberry Pi hemispheric photography on a Windows PC, whilst this could be done on Linux and Mac operating systems, this guide makes use of .bat files which only work under Microsoft Windows operating systems.
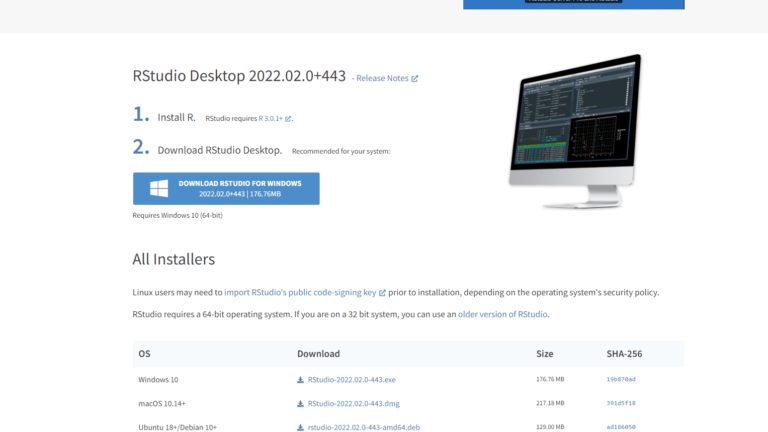
Follow the link for “R & Rstudio” in the “Required Software” section and download R and Rstudio desktop for Windows
When you’ve installed both, using the default settings in the install wizard, open Rstudio. We need to install three packages – Imager, ImagerExtra & Lubridate.
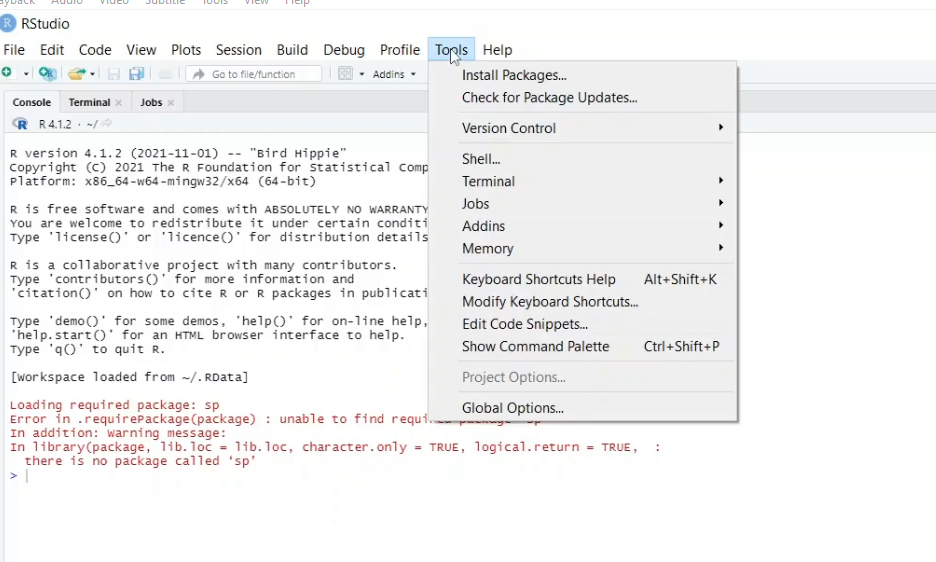
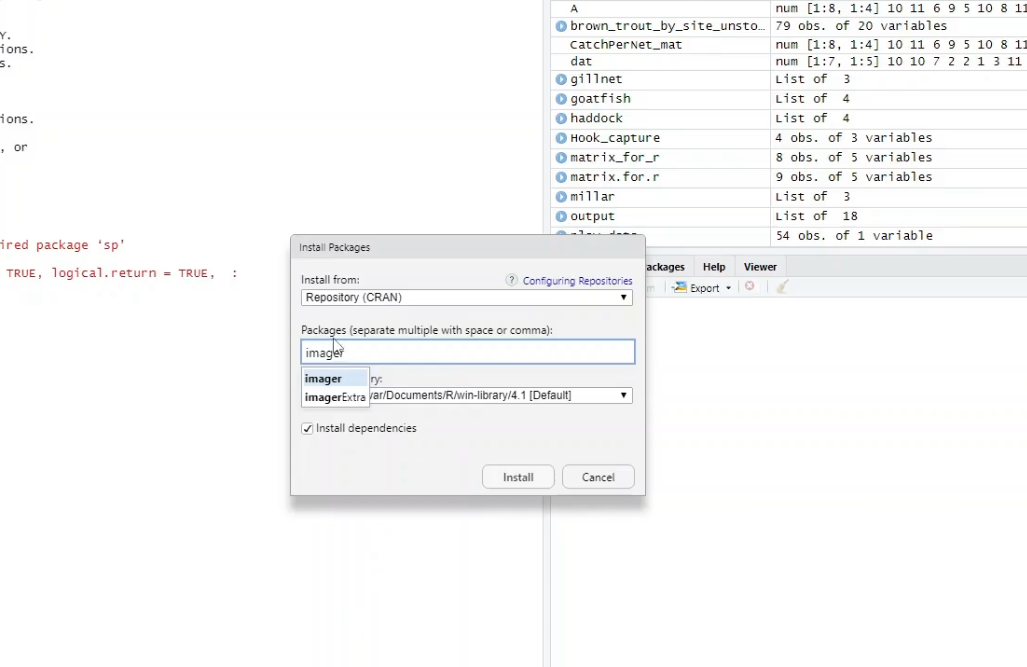
In the top menu select “Tools” followed by “Install Packages”, a menu will open, type the name of the package that you want to install into the search bar and install the packages making sure the “Install dependencies” box is checked.
After you’ve installed the three packages we can exit Rstudio.
Install ghostscript
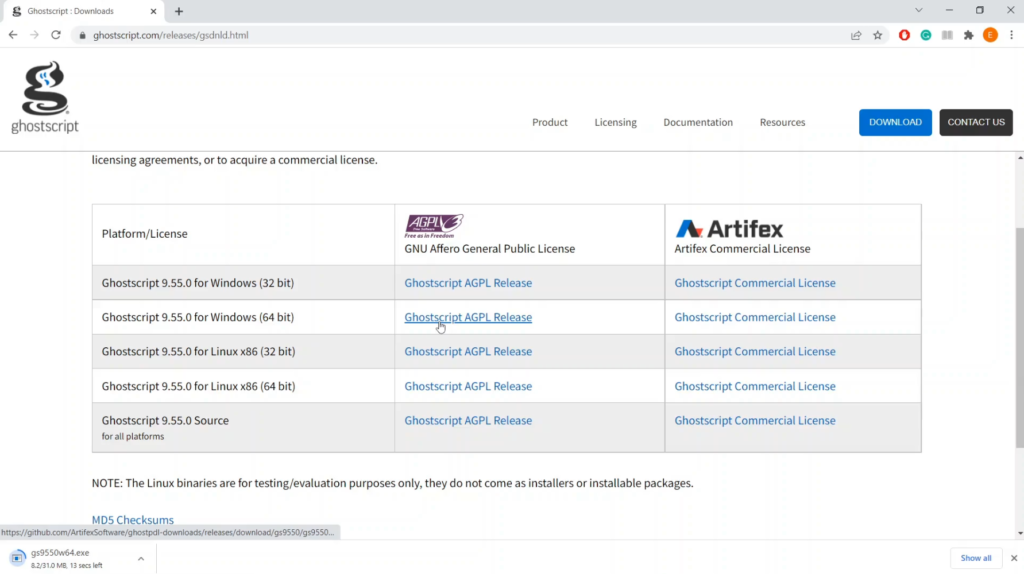
Visit ghostscript.com and download the Ghostscript AGPL release for your operating system, in my case I’m running a 64 bit Windows installation.
Select “Tools” then “Install Packages”
Type the name of the package you want to install into the box
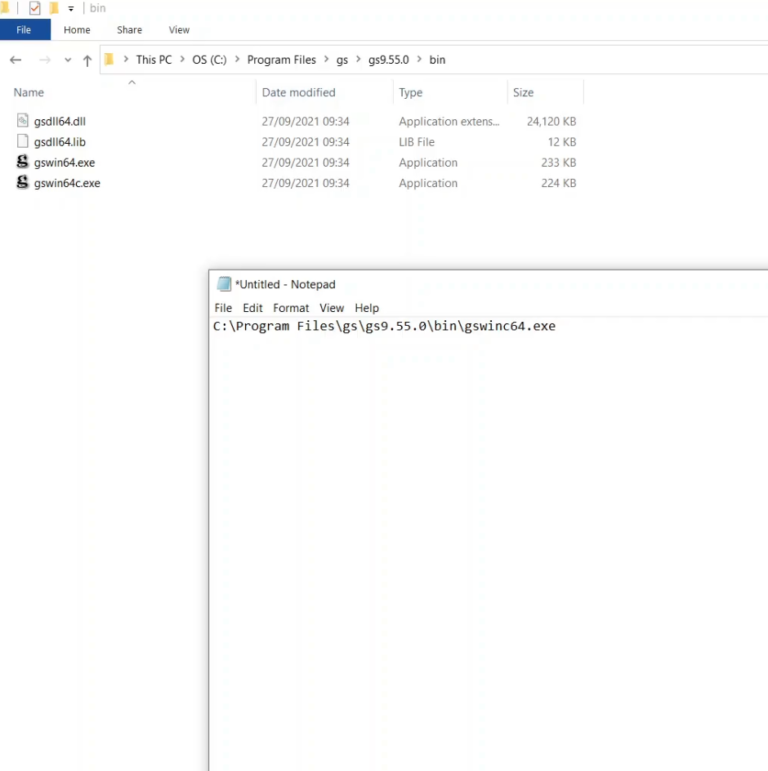
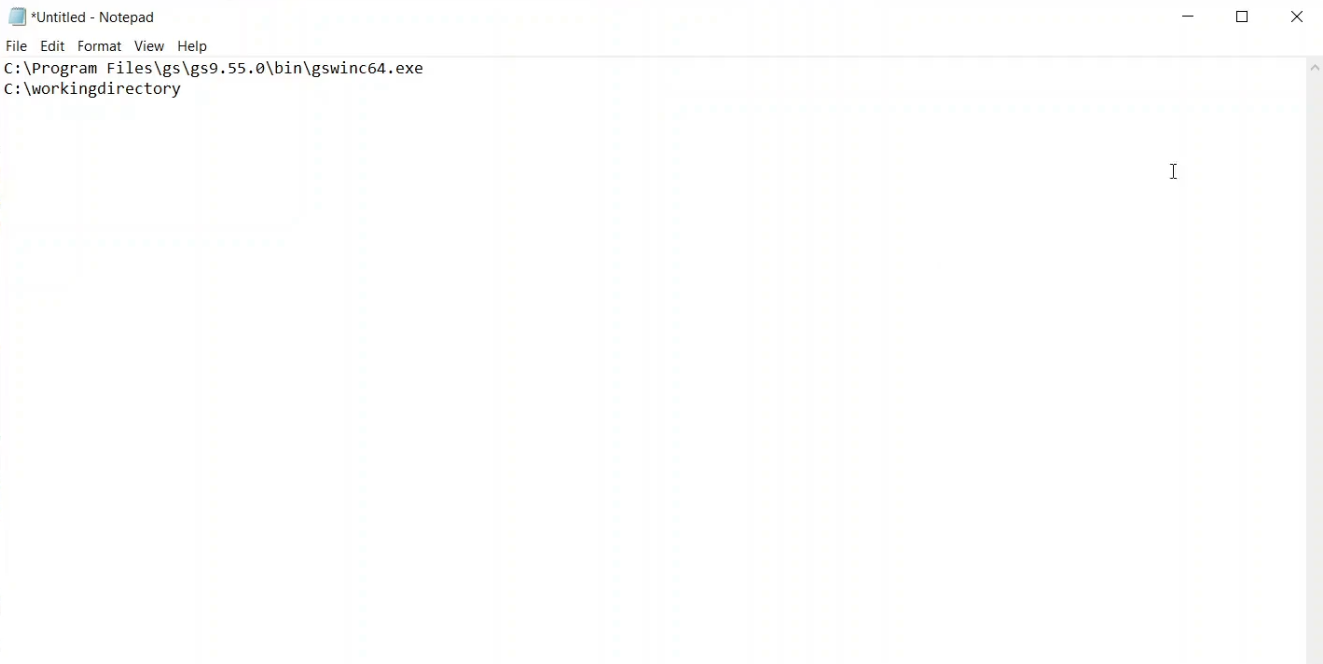
After ghostscript has finished downloading and you’ve run the installation wizard, we need to make a note of the location of the “gswin64c.exe” file. Most likely this will be installed to “C:\Program Files\gs\gs9.55.0\bin\gswin64c.exe”. Make a note of the location in Notepad or similar.
Install ImageJ
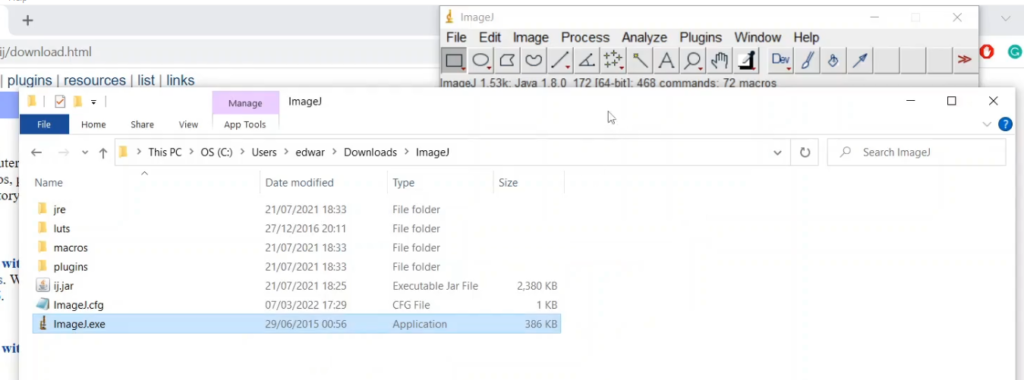
Download and unzip Image J once that’s done, you can click on the “ImageJ.exe” file in the ImageJ folder to run the program, you will be greeted with a grey menu bar.
We don’t need to do anything further at the moment, so exit out and continue with the tutorial.
Download the CIMES Fisheye package & set-up a working directory
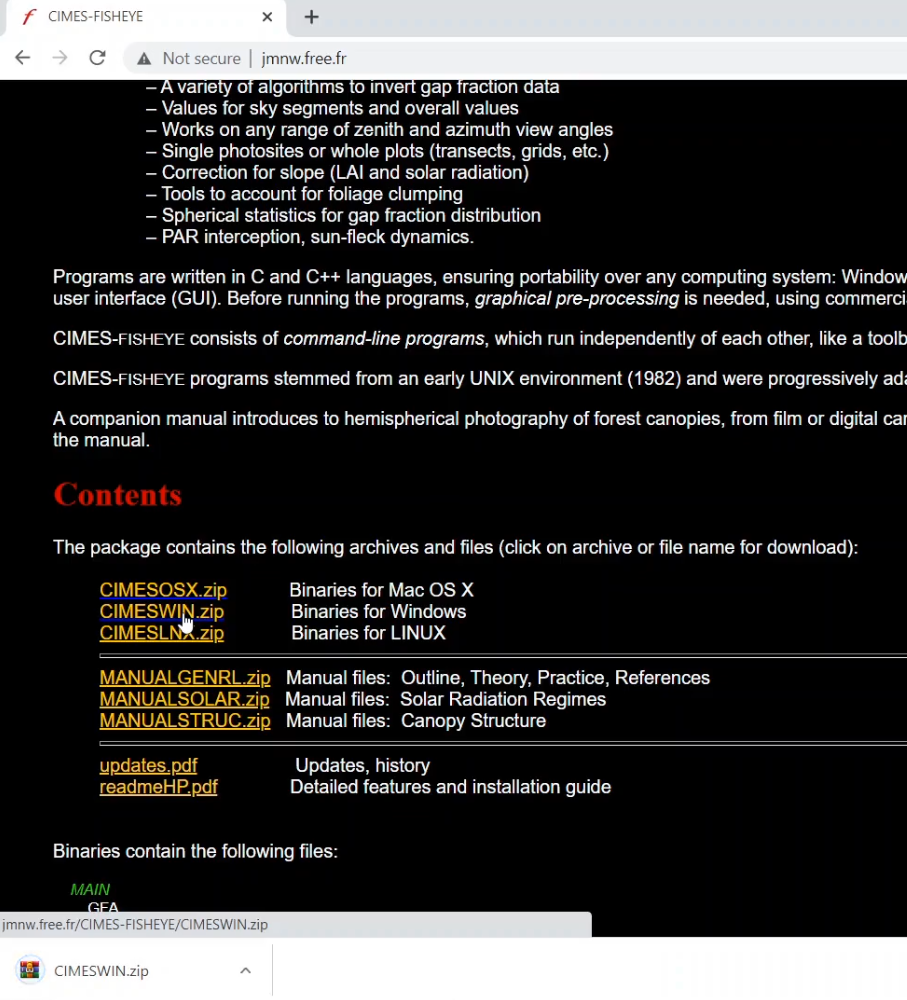
Next, we need to get the CIMES Fisheye set of programs for our image analysis. Follow the link and select the folder named “CIMESWIN.zip”, then download and extract the contents.
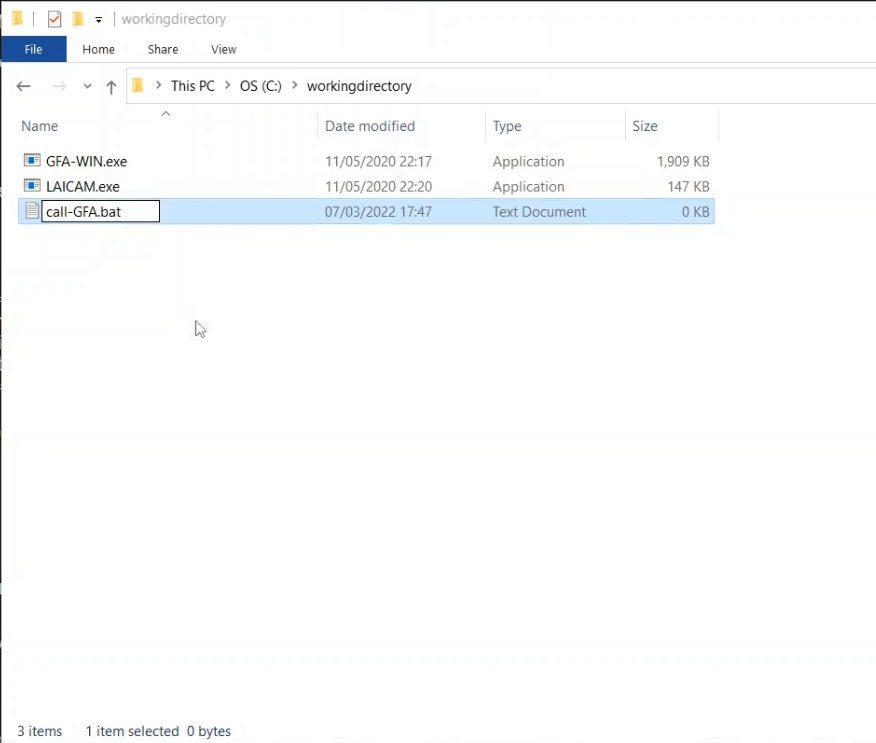
Once the contents have been extracted we need to make a working directory and copy the programs named “GFA-WIN.exe” and “LAICAM.exe” to our working directory.
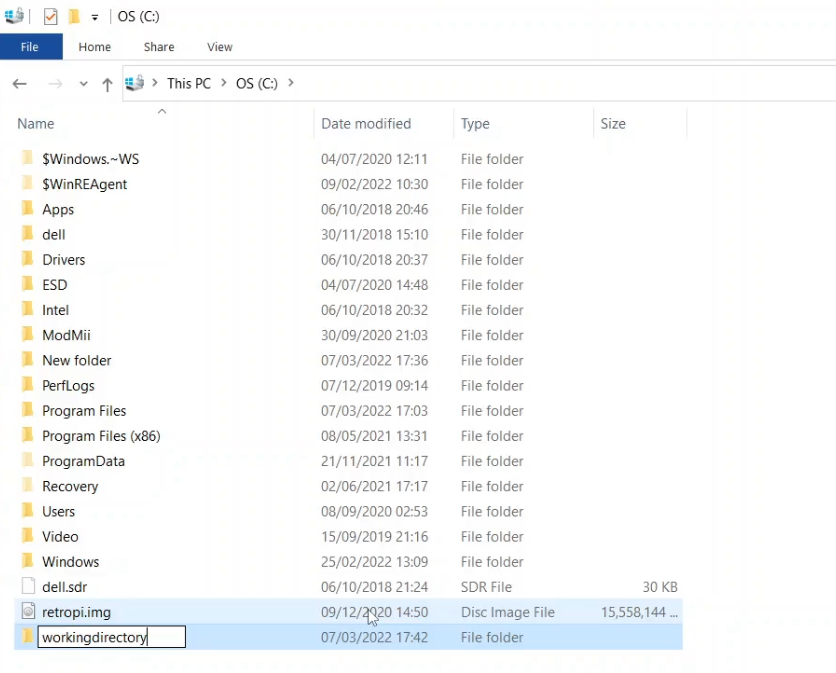
For simplicities sake, I have made a working directory entitled “workingdirectory” on my C drive.
Download CIMESWIN.zip
Create a working directory
Copy programmes into your working directory and create call-GFA.bat
Make a note of your working directory location
Once “GFA-WIN.exe” and “LAICAM.exe” have been copied into your working directory we then need to add a blank .bat file called “call-GFA.bat” to your directory (we will add some code to this file in a later step). After that’s done, make a note of the file path to your working directory.